Getting Started with Mailivery
How It Works and How to Set It Up

Lauren Gilbert
Last Update 12 days ago
Welcome to Mailivery! 👋🏻
Congratulations on successfully registering for Mailivery! 🎉 We're excited to have you as part of our peer-to-peer (P2P) community and help you build a strong sender reputation.
In this guide, we'll cover the basics and walk you through setting up your Mailivery account so you can start warming up your mailboxes in no time.
What is Mailivery?
Mailivery is a P2P warmup platform that helps you establish and maintain a solid sender reputation. A good sender reputation ensures your emails consistently reach the mailbox, instead of being filtered as spam or promotions.
However, establishing that positive reputation can be a challenging process, especially for new senders or those transitioning to a new email service provider (ESP). Sudden spikes in volume, inconsistent sending patterns, or past spam issues can all negatively impact your reputation.
That's where Mailivery comes in—our warmup platform is built to help you develop and maintain a positive sending reputation by mimicking organic email patterns. By adhering to warmup best practices, Mailivery positions you as a trustworthy and reputable sender to internet service providers and inbox filters for improved inbox placement.
Mailivery Warm-up Prerequisites:
- A verified Mailivery account
- Properly authenticated mailbox (for warmup)
- Read more: Setting Up MX Records and SPF
Onboarding Overview:
How to Connect Mailbox for Warmup
- How to Adjust Emails Per Day and Response Rates
- How to Turn On Email Ramp-up (Recommended for High Volume Sending)
- How to Customize Sending Schedule
- How to Upload Custom Warmup Templates (Paid Plans Only)
- How to Start Sending Warmup Emails
How to Connect Mailbox for Warmup
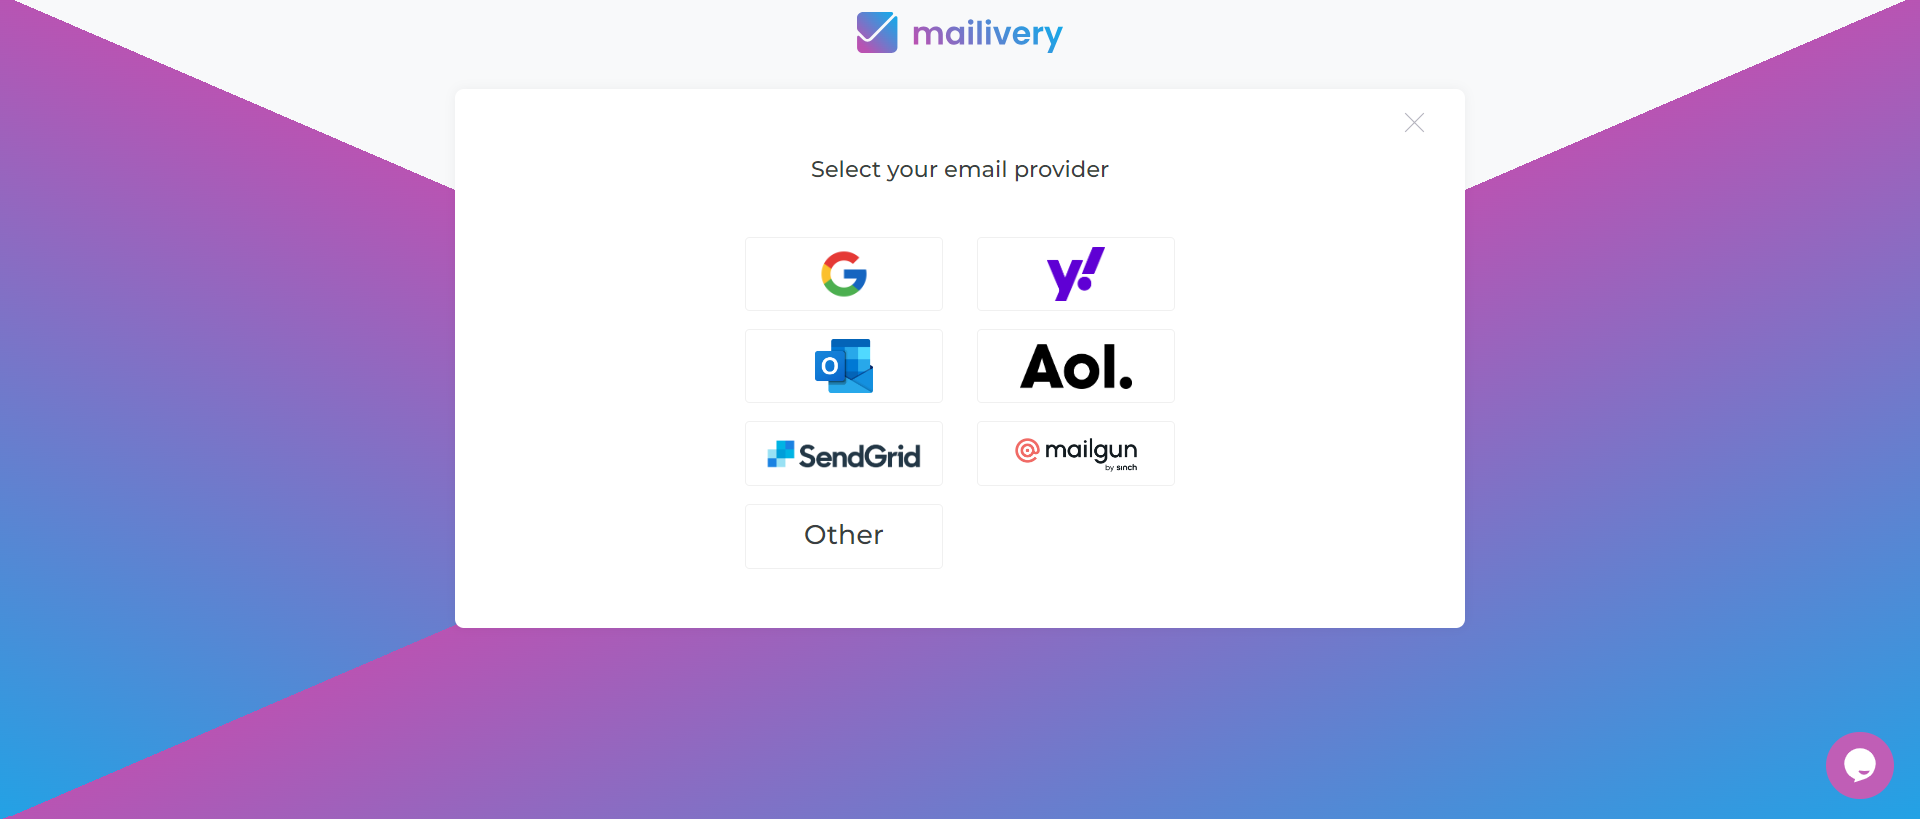
Mailivery supports connection for all major email service providers (ESPs) and any SMTP/IMAP account. This includes Google, Outlook, Zoho, etc.
What you need:
- Your mailbox credentials
- App password (if applicable)
- SMTP/IMAP credentials (if applicable)
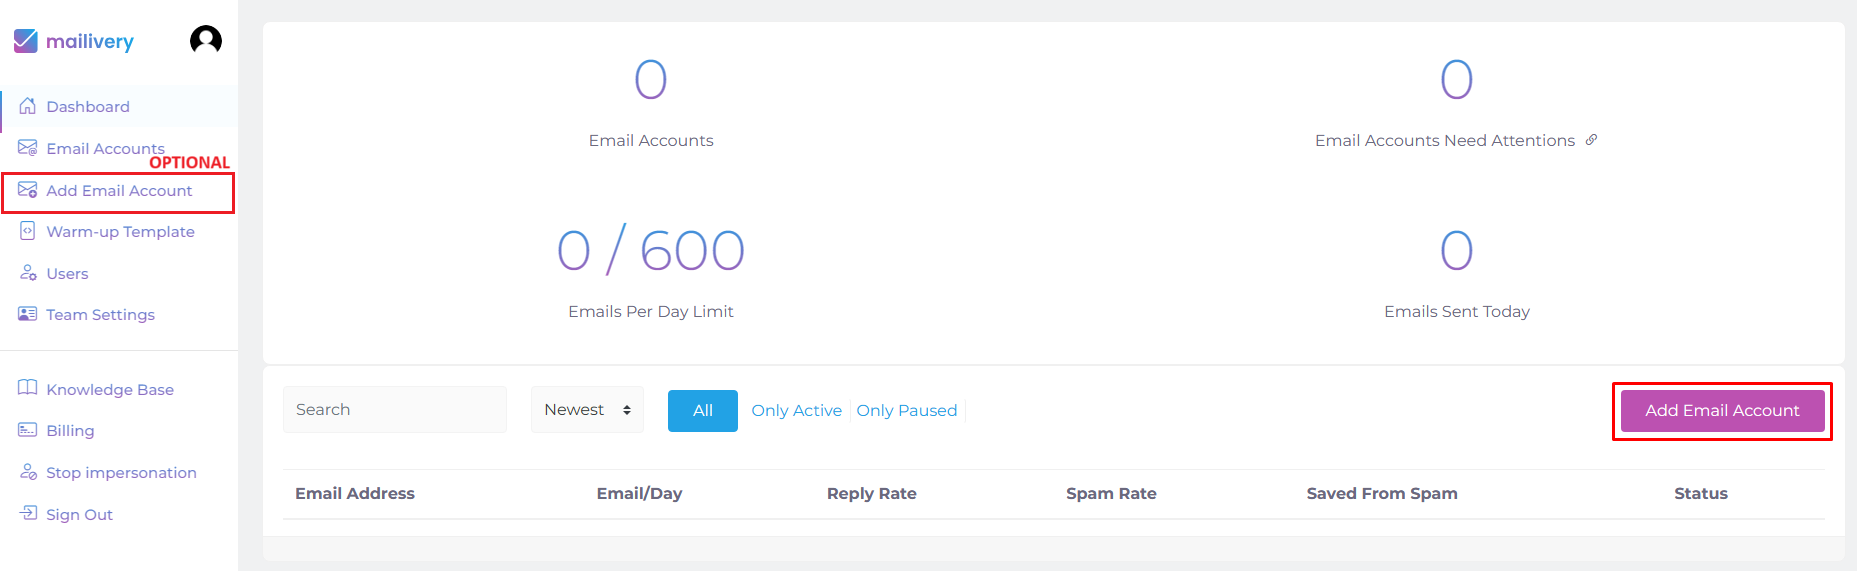
Step 1: From your Dashboard, click on the “Add Email Account” button found at the right-hand side of the page.
Step 2: Select your ESP from the list.
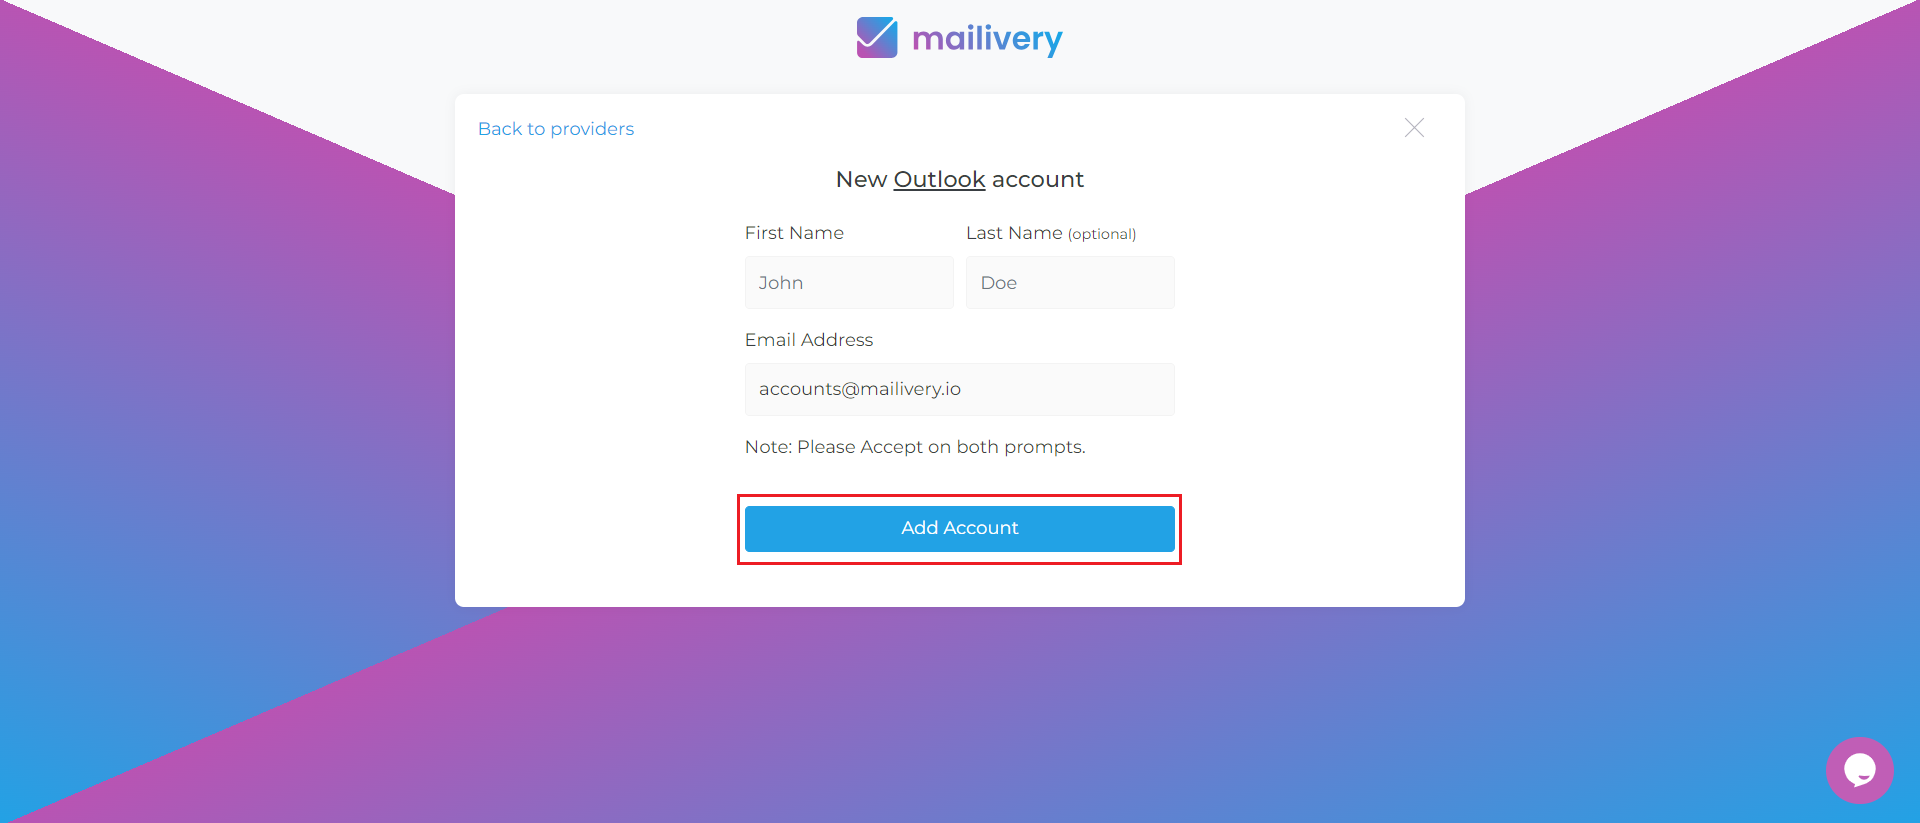
Step 3: Input your necessary credentials then click on “Add Account”.
For a step-by-step tutorial on how to connect your mailbox according to your ESP, check out our Connection Guides.
How to Adjust Emails Per Day and Response Rates
By default, warmup mailboxes are set to a Paused or Pending status after connection. This is to allow users to review their campaign settings before launching, including emails per day and response rates.
Here’s how to do it:
Step 1: Either from the Email Accounts tab or Dashboard, select the mailbox you wish to review the settings for.

Step 2: Access your mailbox settings by clicking on the ⚙️ gear icon found next to the account name.

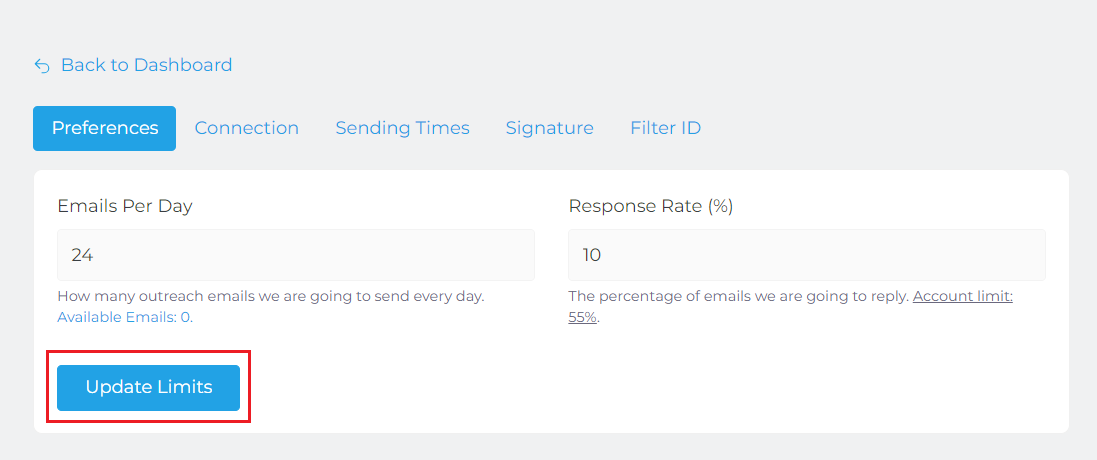
Step 3: Under the Preferences tab, adjust your Emails Per Day and Response Rate settings to your liking.
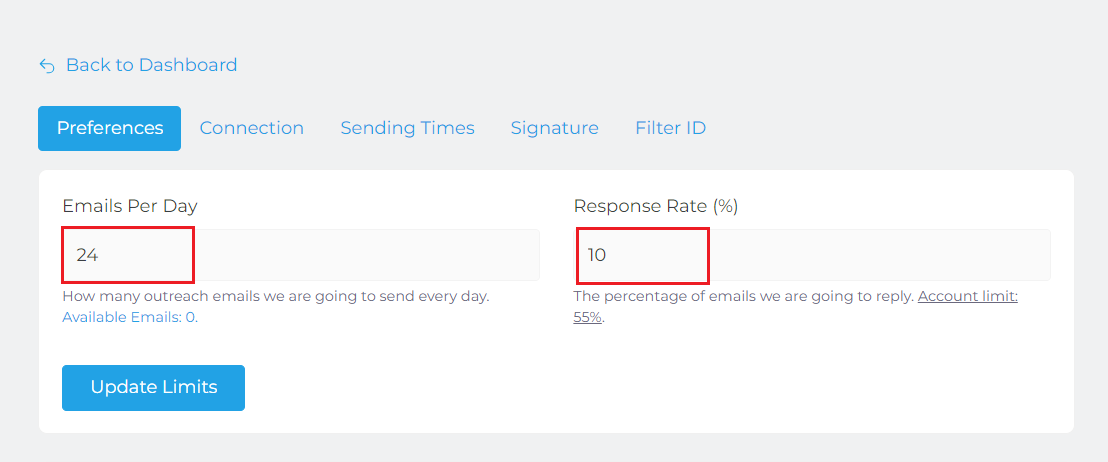
Step 4: Once confirmed, click the "Update Limits” button.
How to Turn On Email Ramp-up
(Recommended for High Volume Sending)
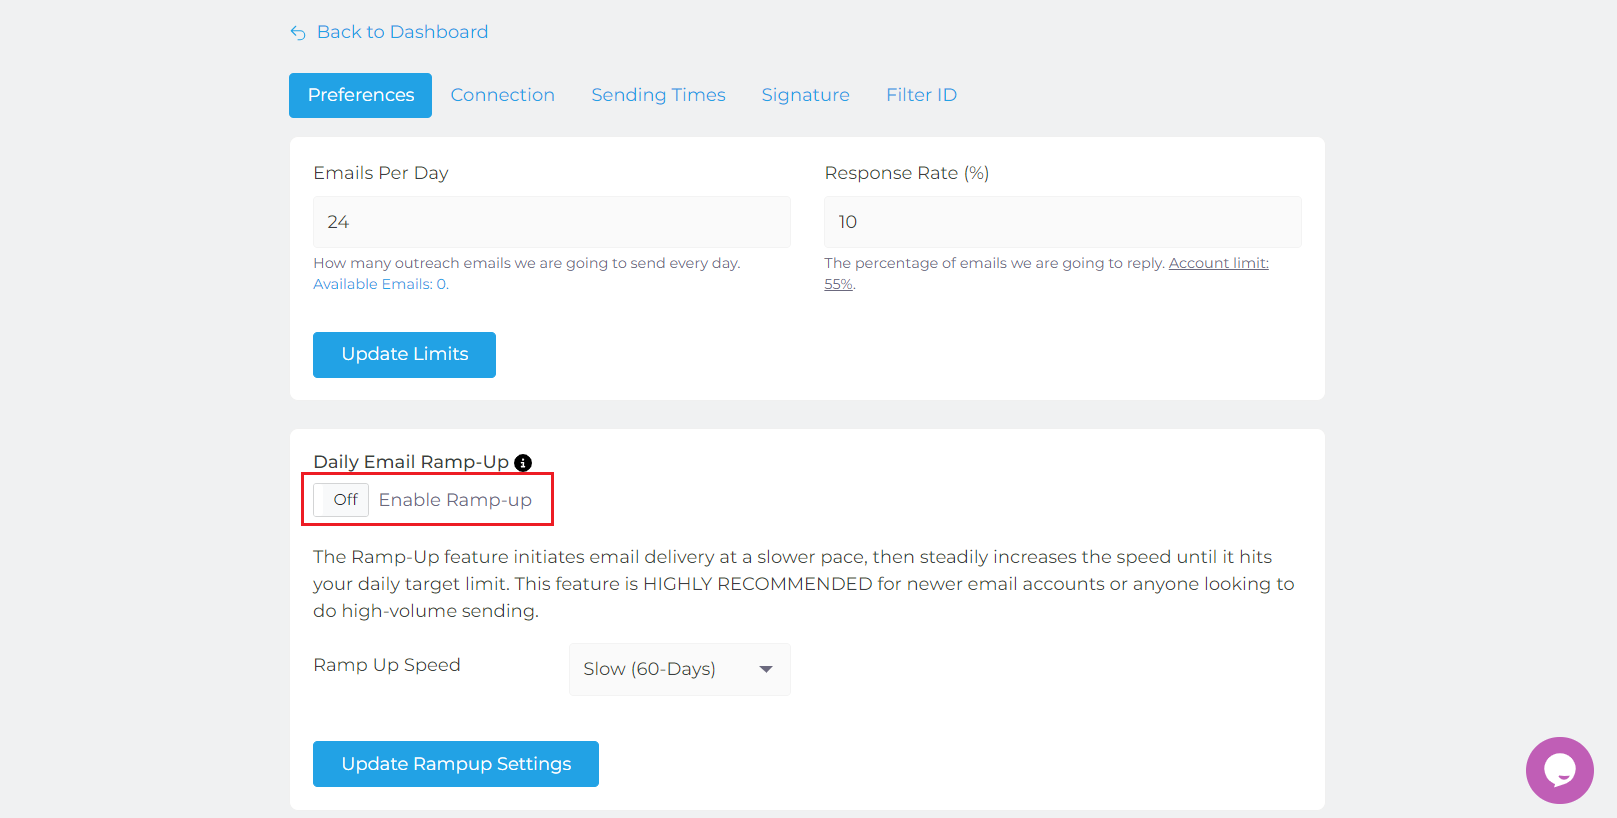
Mailivery's ramp-up feature automatically warms up accounts by gradually increasing sending limits over time. This controlled pacing establishes a positive sender reputation and avoids risky spikes that can trigger blocks.
This is an optional setting with no minimum number of emails per day required, but highly recommend for those dealing with high volume sending. This setting can be enabled or disabled according to your preferences.
Here’s how to do it:
Step 1: Either from the Email Accounts tab or Dashboard, select the mailbox you wish to review the settings for.

Step 2: Access your mailbox settings by clicking on the ⚙️ gear icon found next to the account name.

Step 3: Under the Preferences tab, scroll down to the Daily Ramp-Up section and toggle the switch to “On” to enable ramp-up.
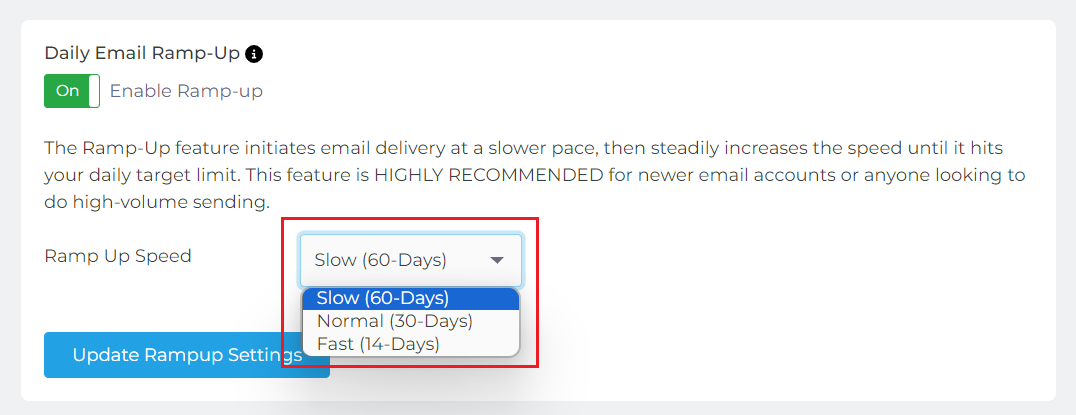
Step 4: From the dropdown options, select your preferred ramp-up speed (Slow, Normal or Fast).
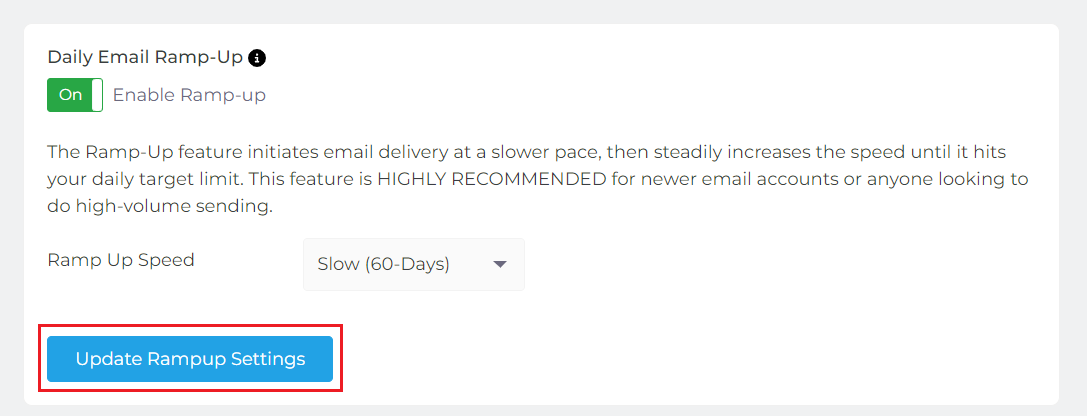
Step 5: Once confirmed, click the “Update Ramp-up Settings” button.
For more info on how ramp-up works, check out What is Email Ramp-up and How It Works.
How to Customize Sending Schedule
After successfully connecting your mailbox/es to Mailivery, you can go ahead and start sending out warmup emails using Mailivery’s default send schedule, or you can set it according to your own preference. Your email sending schedule can be edited at any time.
Here’s how to do it:
Step 1: Either from the Email Accounts tab or Dashboard, select the connected mailbox you wish to edit the sending schedule of.

Step 2: Access your mailbox settings by clicking on the ⚙️ gear icon found next to the account name.

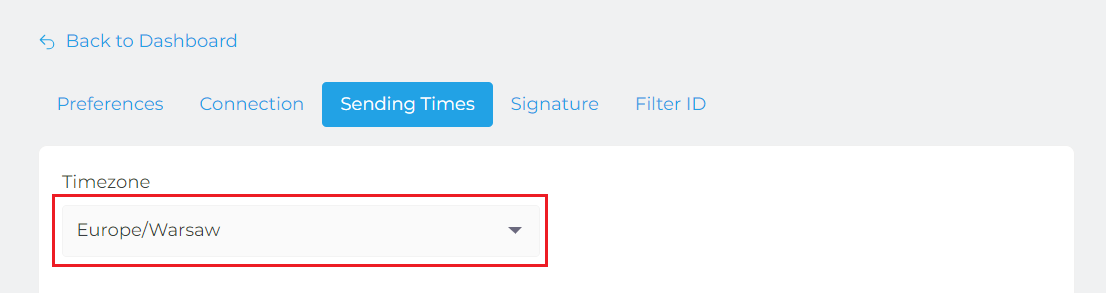
Step 3: Navigate to the Sending Times tab and ensure to set the correct timezone for sending.
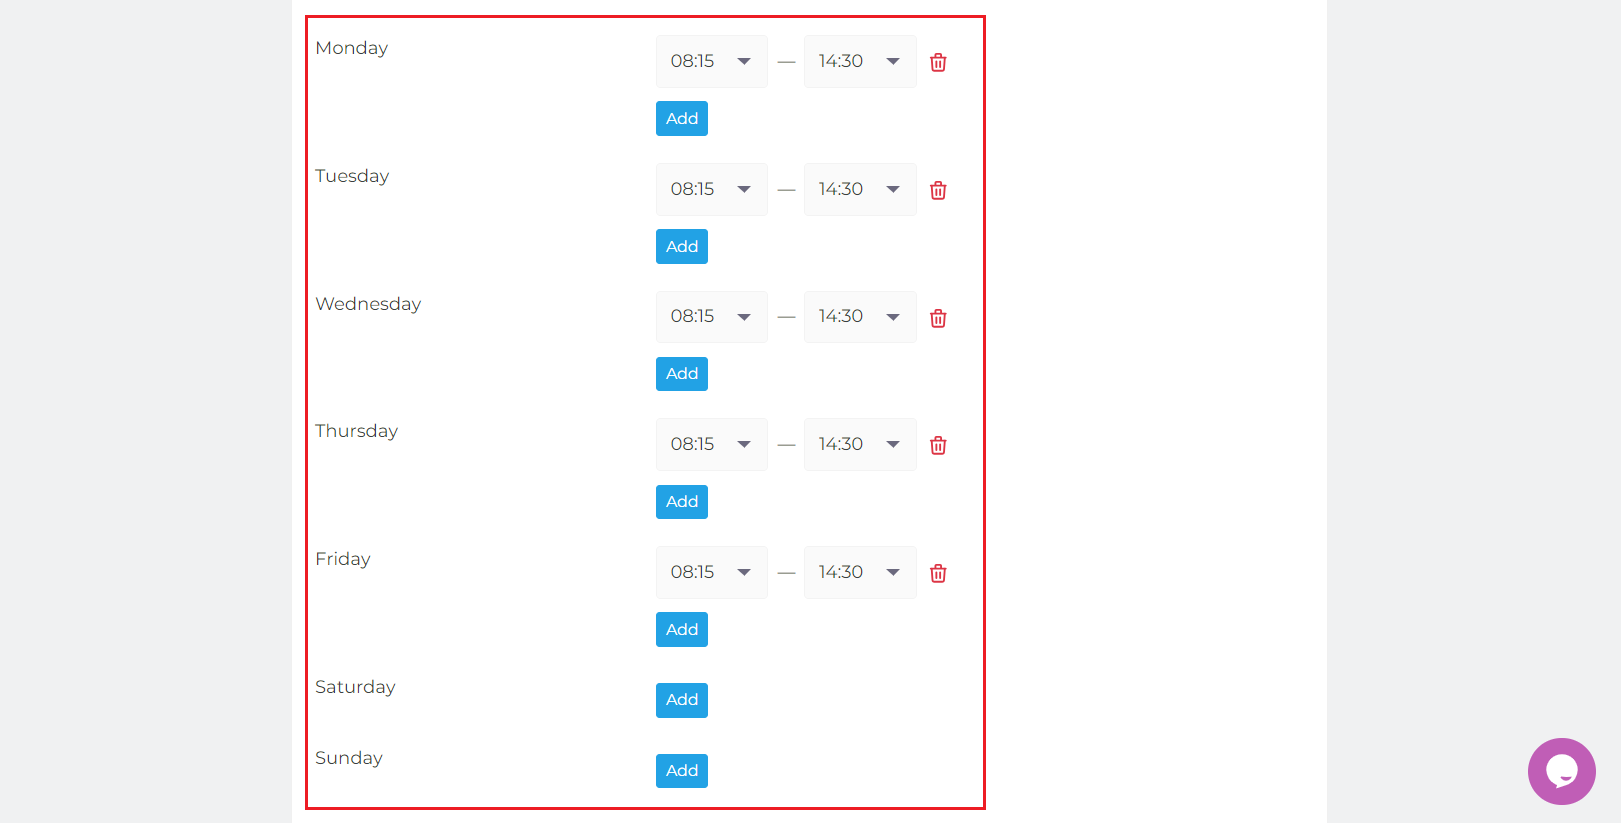
Step 4: Under the same tab, set the corresponding sending time window for the days you wish to send warmup emails.
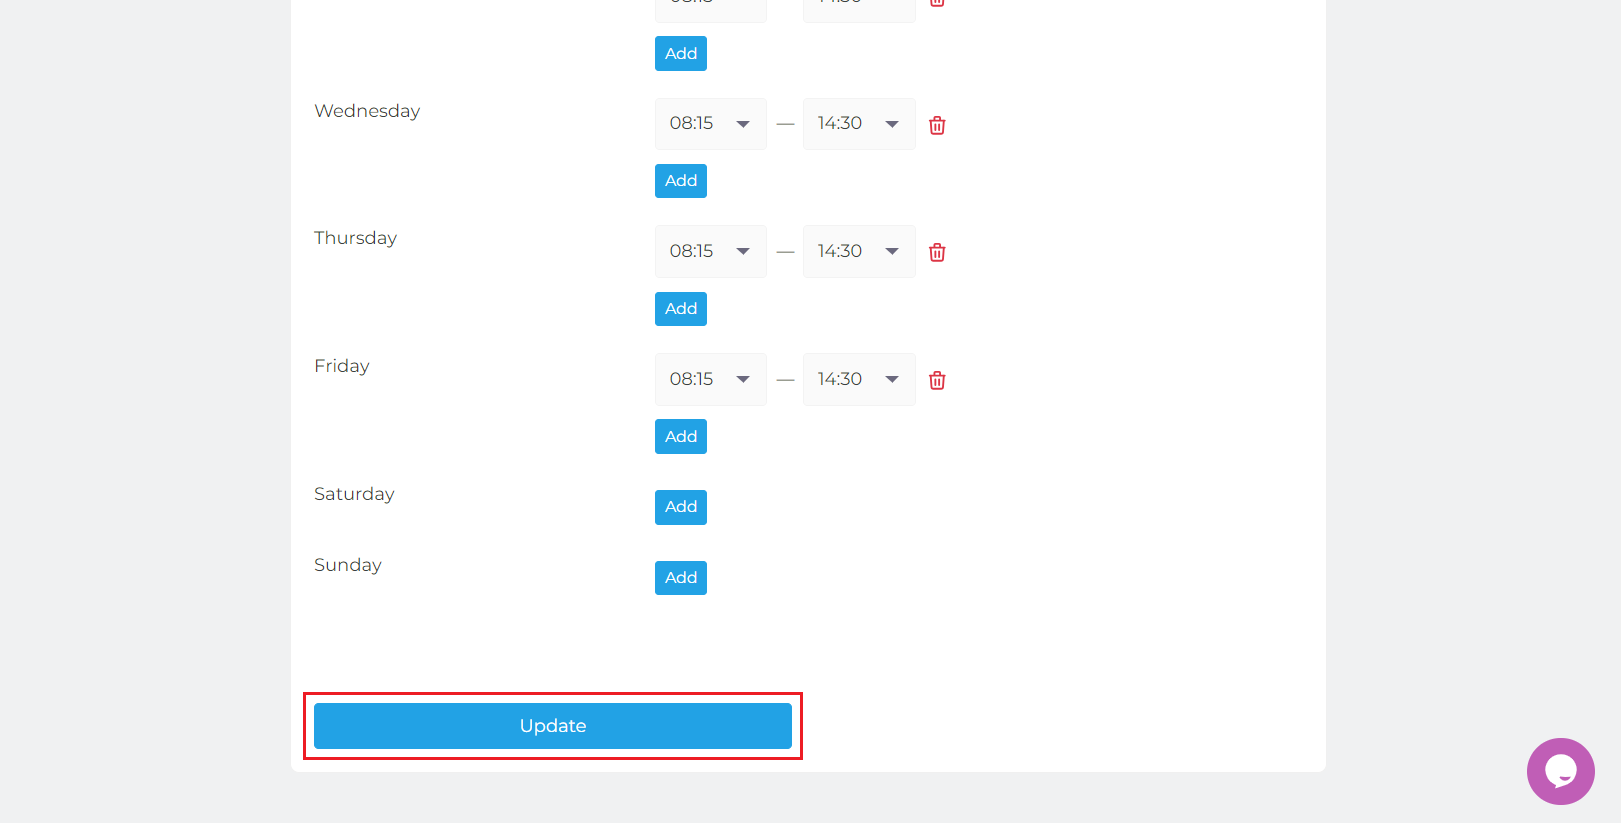
Step 5: Click on the “Update” button.
For a step-by-step tutorial on how to edit your sending schedule, check out How to Customize Warmup Sending Schedule.
How to Upload Custom Warmup Templates
(Paid Plans Only)
Mailivery offers an optional powerful custom warmup template feature on all paid plans. This allows you to craft custom messages that will be included in your warmup emails.
Custom templates allow you to test and refine messages while building great sender reputation. Take advantage of this powerful feature to get your emails delivered!
What you need:
- Connected warmup mailbox
- Active paid Mailivery subscription
Here’s how to do it:
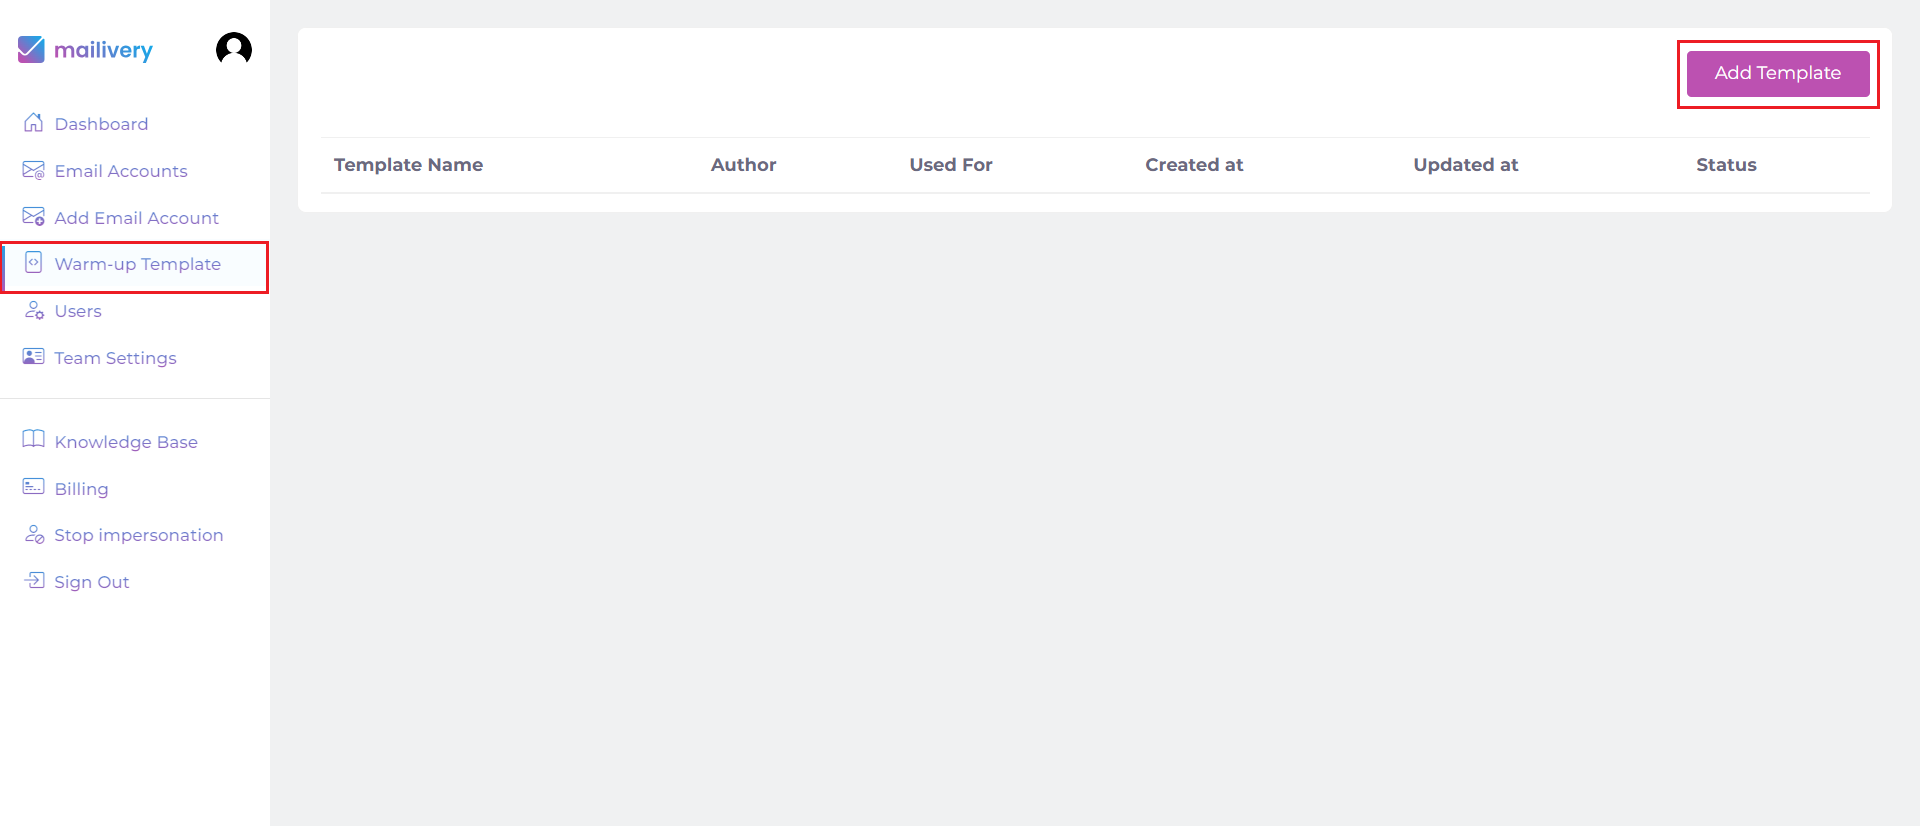
Step 1: Navigate to the Warm-up Templates tab and click "Add Template".
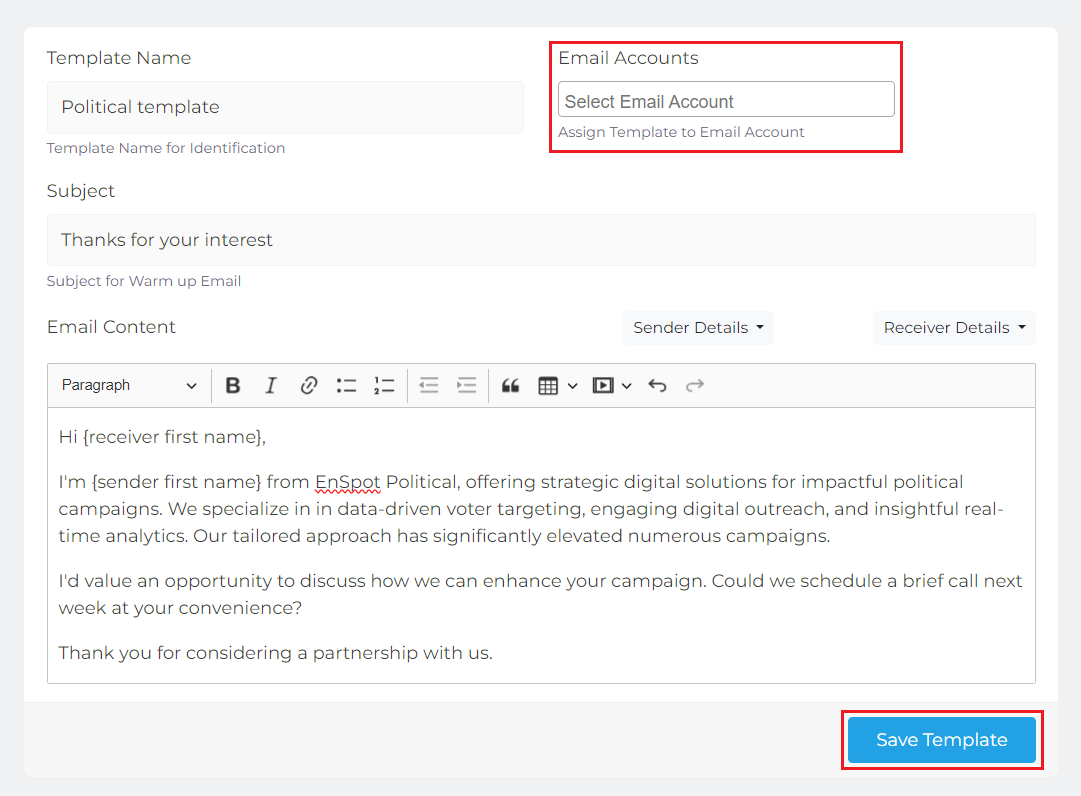
Step 2: Enter the template name, subject line, and custom warmup email content in the specified fields.

Step 3: Select which inboxes should send out your custom message on the top right corner and click Save Template.
Learn more about custom templates in How Warm up Template Works.
How to Start Sending Warmup Emails
Once all settings are confirmed, you can now begin warmup for your connected mailbox.
Here’s how to do it:
Step 1: Either from your Email Accounts tab or Dashboard, select the mailbox you wish to start warming up.

Step 2: At the top right-hand corner of your chosen mailbox' dashboard, click on "Start sending emails" button to launch your warmup campaign.

And you’re all set! Once your campaign status is set to Active, allow a few minutes to 24 hours to receive your first warmup email after sending.
Maintaining a strong sender reputation is an ongoing journey, as email service providers and mailbox providers continuously update their algorithms and standards. Building a positive reputation requires consistent effort, so be sure to monitor your sending metrics closely and adjust as needed.
After launching, don’t forget to check out What You Can Expect After You Start Warmup to understand what happens after you initiate warmup on Mailivery.
If you have questions or need assistance, please contact Mailivery support through their live chat feature.